Friday, March 27, 2020

Spring Cleaning 101: Make It Fast, Easy and Effective

Spring is the perfect time to open up the windows in your house and clean every surface inch, but there’s no reason to spend more time on this task than necessary.

Use these tips to quickly get your home spic and span.

Have a plan

When it comes to spring cleaning, the best approach is an organized approach. "I recommend having a plan, which includes an outline of the areas you plan to clean, a schedule with time slotted to do that work (for you and any family members), as well as a list of products, tools and even cleaning techniques or tips pertaining to those areas," says Melissa Maker, blogger and host of the popular YouTube show "Clean My Space."

Choose the right supplies

When you’re making your spring cleaning plan, take inventory of what supplies you need to gather to begin cleaning. Once you figure out what you need, be sure to choose the most effective and powerful cleaning supplies so that the product is doing most of the work - not you.

Clean room by room

It's easy to feel overwhelmed when you are going from room to room to complete various tasks. Choose to target one room at a time so you can see the results of your productivity quickly and not get discouraged.

Work smarter, not harder

Don't scrub any more than necessary. Simple steps like soaking pots and pans before you scrub them, waiting for cleaning products to sit before you wipe down surfaces, and using the self-cleaning setting on your oven can save you tons of time.

Clean your cleaning supplies

Did you know your cleaning supplies, such as sponges or microfiber cloths, are most likely the dirtiest items in your home? It goes without saying that you can't effectively clean your home with dirty supplies. So be sure to disinfect sponges or other cleaning supplies in a mixture of one part bleach and nine parts water for 30 seconds.

Don't forget the …

There are several items in our homes that we often forget to clean on a regular basis. Among forgotten items, Maker recommends cleaning behind the oven, bathroom exhaust fans, refrigerator coils and window coverings.

Focus on the MIAs

Spring cleaning can be a huge undertaking (especially depending on the size of your home), so Maker suggests focusing on the MIAs, or the Most Important Areas. When deciding which area to choose, think about the most visible ones, like the living room or home office.

Get rid of the clutter

You can never truly have a clean and tidy home if you are buried in your own stuff. When cleaning out your things, remember the 80/20 rule: Only 20 percent of the items we own are truly important - so 80 percent of our belongings are just getting in the way.

Figure out ways to be more efficient in the future

While you are cleaning and organizing your home, take note of all the clutter that you most often find. For example, if you are finding that most of your clutter is paper, figure out the best ways to go paperless throughout the year.

Related:

Originally published March 24, 2016.


via Zillow Porchlight https://ift.tt/2pwjlu6

Tuesday, March 24, 2020

5 Ways to Refresh Your Space

With springtime comes a sense of renewal, and a desire to clean, organize and refresh - especially if you’re spending a lot of time at home. Get your creative gears turning, and whip your space into shape. You’ll be surprised how a few simple changes can give you a whole new outlook.

1. Embrace natural light

Create the feel of windows with large mirrors. Photo via Laurel & Wolf.

With warmer days comes more sun, so open those blinds and bask in the natural light. Instead of flipping on your lights in the morning, pull back the curtains and let sunshine light the way. The simple act of opening your windows can help lift your mood, and you’ll save a little on your electric bill too.

Don’t have many windows? Fake it by using large mirrors to reflect light and brighten up your room. Bonus: mirrors also give the illusion of a bigger space, making your home feel brighter, larger and clearer.

2. Give your furniture a clean slate

All white furniture creates a spring vibe in a living room. Photo via Laurel & Wolf.
All-white furniture creates a spring vibe in a living room. Photo via Laurel & Wolf.

Spring is the perfect time to break out all of your lighter and cooler clothes - and this also goes for furniture. A white, beige or light gray couch is the perfect nesting spot.

Light neutral chairs set the tone, reflect light and keep you from getting too warm. If desired, you can keep these pieces out year-round to invoke springtime memories and stave off wintertime blues when skies are gray. If you don’t want to commit to white furniture, invest in slipcovers that you can use seasonally and remove once colder temperatures return.

3. Let nature be your guide

Wickers and wovens are materials that work through spring and well into summer. Photo via Laurel & Wolf.

Incorporate lightweight natural materials into your decor - think wicker, woven baskets, light wood grain and cotton curtains. Keep it airy and light, leaning on nature to inspire you.

Switch out heavy blankets for summery throws, and pack away heavy, dark decor items in favor of woven baskets paired with colorful or nature-inspired accessories. By adding earthy materials to your home, you invoke nature inside and out for a fresh and renewed feel.

4. Pack some punch with pops of color

Spring is the perfect time to ditch all those moody blacks and grays of winter, and trade them in for something a bit cheerier. Oranges, pinks, yellows, purples, blues and greens are all colors that recall spring and sunshine. Pick your favorite hue from the rainbow and run with it. Try a few peachy throw pillows, springy green candles or periwinkle decorative bowls.

Step out of your comfort zone and try a bold statement, or keep it cool with subtle hints of something you know you love. You’ll be surprised how much your mood lifts when you’re surrounded by a sea of pretty shades.

5. Go green and breathe deep

Adding potted plants, bouquets of flowers and herb gardens to your home is a great way to bring the outdoors in. Not only do they provide beautiful focal points and improve your mood, they also give off little hits of oxygen - so breathe deep.

Hit up your local farmer’s market for pretty blooms on the cheap, or grow herbs in windowsill pots. And for all those black thumbs out there, faux plants will still give off a fresh green look, but without all the hassle and maintenance.

Whether you’re looking to freshen up a couple of rooms in your house or overhaul your whole space, there are easy steps you can take to get your home spring-ready. Give yourself a new outlook and a fresh perspective by taking the time to rejuvenate your space and your mindset.

From mixing up colors to looking to nature for inspiration, you can completely transform your home into a sunny, light and airy space.

Related:

Originally published March 2016


via Zillow Porchlight https://ift.tt/3bokyLB

10 Spring Cleaning Projects to Tackle This Weekend 

Spring cleaning is all about getting our homes ready for a new season of sunshine, warmth and time outdoors - and indoors, too - especially if that’s where you’re spending a lot of time right now. Get ready to wipe off the grime, clear out the cobwebs and refresh your living spaces.

Add these project to your spring-cleaning checklist, and you’ll be rewarded with a home that feels brighter, cleaner and more functional.

Best of all, you can knock out most of these jobs in a weekend.

Wash windows, inside and out

Some say clean windows make your whole home look better, and we think it’s true.

For a DIY cleaning job that yields professional results, use a solution of water, ammonia and white vinegar. Apply the solution to your windows with a large sponge, and remove it with a professional-grade squeegee.

Clean refrigerator and air conditioner coils

These appliances create a cooling effect by circulating air through the coils. Over time, dust builds up on the coils and decreases their efficiency, making your refrigerator or air conditioner work a lot harder.

Unplug the appliance, then vacuum out the coils with your vacuum’s crevice tool. You can also use a special refrigerator-coil cleaning brush, available at most hardware stores.

Check ceiling fans

Clean your ceiling-fan blades to remove winter dust build up.

And if you reversed your ceiling fan’s direction to clockwise for the winter, turn it back to counterclockwise for the warmer months. This sends the air straight down, creating a cooling effect.

Clean dryer vent

Cleaning a dryer vent is easier than you might imagine. First, unplug the dryer from the power source. Next, clean out the vent with a special dryer-vent cleaning brush or a vacuum.

Deep-clean carpets

Even if you vacuum regularly, a thorough carpet cleaning once a year will reach deep down into the fibers to clean out debris, dust, and food particles.

If you don’t own a carpet cleaner, you may be able to rent one from a home improvement store or even your local grocery chain store.

Inspect roof, gutters and chimneys

Spring is the perfect time to check your roof for damage that may have occurred over the winter. If you can't use a ladder to get up on the roof, try inspecting it with binoculars.

Check decks and patios

If the finish on your wooden deck still looks good, that’s great! You might just need to clean the deck to get it ready for summer.

If the finish appears to be worn, then you’ll want to consider both cleaning and resealing the deck. For decks made of composite material, follow the manufacturer’s instructions for cleaning and preserving the deck.

Prep lawn equipment

Get those lawn mowers, weed whackersnand pressure washers out of storage, turn them on, and make sure they are running properly. Sometimes a little lubricant or cleaning is all you need to get your tools back in shape.

Clean outside furniture

Use Murphy Oil Soap for wood furniture. For most other types of outdoor furniture, a solution of dishwashing liquid and water should do the trick.

Freshen up your front entrance

Sweep and/or wash the front porch and steps. Shake out your welcome mat, or replace it if it’s starting to fray or fall apart. Add a pot or two of brightly colored annuals, and your home will feel renewed!

Related:

Originally published April 2017


via Zillow Porchlight https://ift.tt/2oYKiaB

'Where Should I Keep My ...?': Solving the Ultimate Small Space Dilemmas

When you’re in a small space - especially if you’re sharing it with others, and you’re spending a lot more time there than you ever have before - you’ve probably come to realize that square footage is something to be savored, not squandered. If things are feeling a little crowded, this may be a good time to assess your organization methods.

Whatever your hobby or collection, there’s an organizational hack to help you store it. Here are some clever storage tricks for six of the toughest, bulkiest space-takers you may own.

Offseason wardrobe

Tuck those bulky winter sweaters (or shorts and flip-flops) in plastic bins under your bed. If your bed's too close to the ground, lift it up with sturdy wood blocks. Even a few extra inches create enough space for a sizable storage container.

If elevating the bed isn’t an option, maximize your closet space with a few sets of cascading hangers. Put blouses on one set and T-shirts on another, and you’ll most likely double your closet space.

Extra linens

Extra pillows, comforters, and bedsheets are great for guests, but not so great for your small space. Try vacuum storage bags - stack your items inside, and use your vacuum cleaner to remove the air. Your items will shrink significantly so you can store them under your bed or on a shelf.

Shoe collection

A burgeoning shoe collection can take on a life of its own if not properly corralled. Take it back to dorm-room days with an over-the-door shoe organizer. These college favorites are popular for a reason - they store a dozen pairs of shoes or more, plus scarves, baseball caps, belts and chunky necklaces.

Bikes

Bikes can be one of the most difficult belongings to stash, especially if you don't have a deck, garage or basement. Try installing a strong hook in the wall, and hang your bike by the front tire. Pro: It’s a great way to get the bike off the floor. Con: It still protrudes into the room.

For a less invasive option, hang your bike flush against the wall - like you're hanging a piece of art. The hardware can be as simple as two wooden dowels that support the bike's horizontal bar. (Just make sure you anchor the supports in the wall’s studs so they can hold the weight.)

Exercise equipment

An inflatable exercise ball is a great workout aid - and a real space suck. You could always deflate it, but the hassle probably isn’t worth it. So, why not get creative and make it a usable piece of furniture?

Repurpose medium or large exercise balls as dining room chairs, and store them under the dining table when you’re done.

No room for a dining table? The bike trick applies here, too. Install a couple of dowels high up on the wall, and set the ball there until you’re ready for a crunch session.

Decorations and keepsakes

Have a collection of things you just can't get rid of? Maybe old photo albums, holiday decorations or crafting supplies? Strategically placed shelves are your storage lifesaver when seeking space for infrequently used items.

There's often a wealth of unused space above and behind your hung clothing in bedroom and hallway closets. While shelves in these locations may require a footstool or flashlight to access, it won't matter if you only need the items a few times a year.

Top photo from Zillow listing.

Related:

Originally published August 2017


via Zillow Porchlight https://ift.tt/2wbMQsi

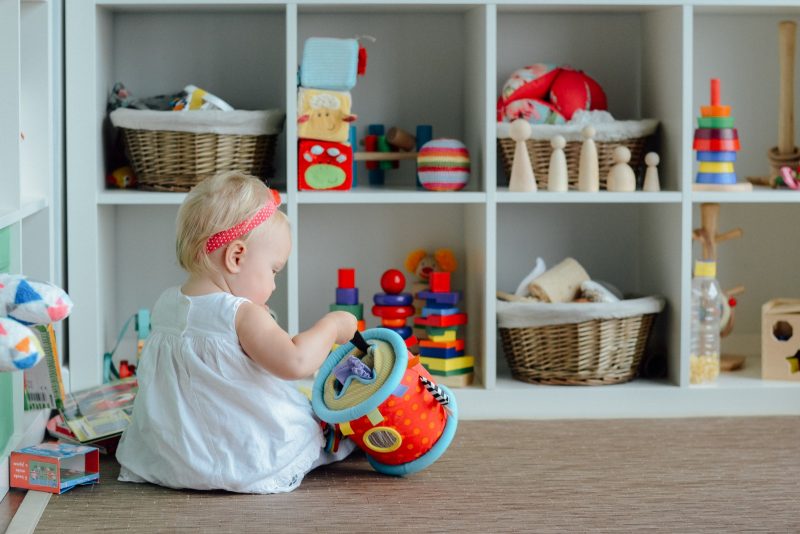
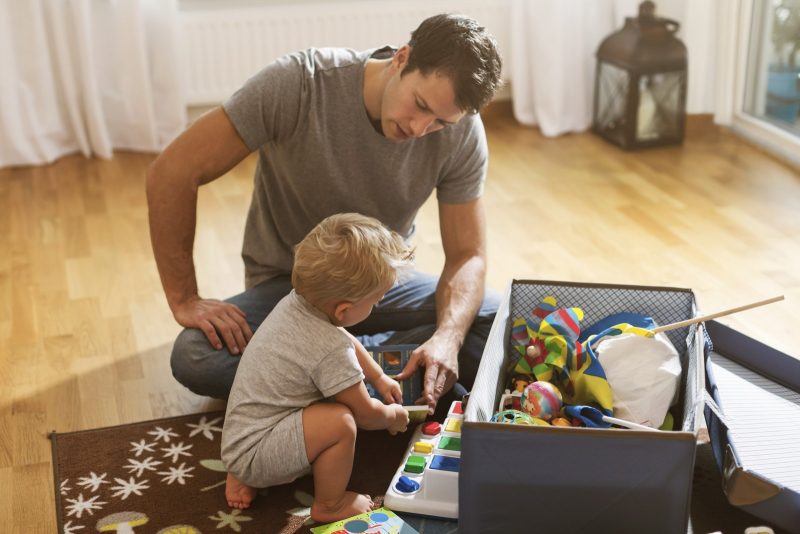
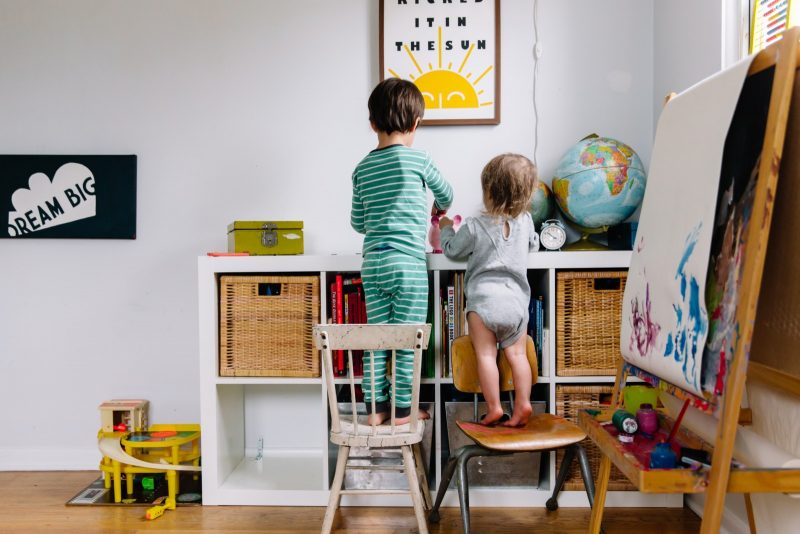
7 Simple Ways to Keep Your Kids' Toys From Taking Over Your Home

If having your family at home all day, every day has made your space feel chaotic, and your days and nights seem to run together, regain a sense of order with these simple tips.

1. Reduce the clutter

It doesn't matter how organized you are - a surplus of toys will always ensure your house is a mess waiting to happen. Fortunately, getting kids on board with the idea of ditching their stuff is a lot easier than it sounds.

The trick is to make it an opportunity for them to define themselves and their interests. Encourage kids to make a pile of "baby toys" to donate, and have them set aside any toys that no longer interest them, such as action figures from a forgotten TV show. Separating these toys will help them appreciate how much they've grown and rediscover the toys they love.

2. Choose toys wisely

Since you'll probably be stuck with them for a while, it pays to be picky when it comes to buying toys. To make toys more meaningful to your child, only buy them for holidays, special occasions and rewards - don't shy away from asking relatives to do the same.

Avoid toys that are poorly made (cheap), not age-appropriate, unnecessarily large, pointless or anything tied to a movie - unless it's that one you've been playing on repeat every day. The best toys are versatile, encourage creativity and can easily be expanded upon, such as Legos, wooden train tracks and dollhouse sets.

3. Leave some toys out of reach

If you're constantly finding play dough and puzzle pieces in the sofa cushions, it's time to put them on the top shelf of the closet. Designating these messy toys as "family toys" will give you more quality time with your child instead of scrubbing pen marks off the curtains.

Also, try to set aside a tote of toys, games and puzzles for rainy days. This ensures you'll always have a trick up your sleeve for sick days or when a boring relative visits.

4. Set boundaries

If toys are already sprawled out over every available surface of your house, don't worry! You can quickly reclaim order in your household by setting a few ground rules, such as "no toys in the kitchen" or setting limits on the number of toys allowed out overnight.

While that might seem a bit draconian, children are generally happier when they're given clear expectations and few surprises. That's why it's important to follow through and pick up every night, no matter how exhausted you feel at the time.

5. Give kids ownership

Picking up toys doesn't have to be boring. Babies, toddlers and big kids alike can have fun organizing and picking up, just as long as it's not a negative experience. This means you should provide enough time for enjoyment without resorting to counting "1, 2, 3" or shouting empty threats.

A great thing about setting aside extra time for picking up is that you and your child can do fun things like scoop up blocks with a blanket or deliver toys across the house via tricycle. If you make it fun enough, your kid will eventually pick up without even being asked.

6. Give every toy a home

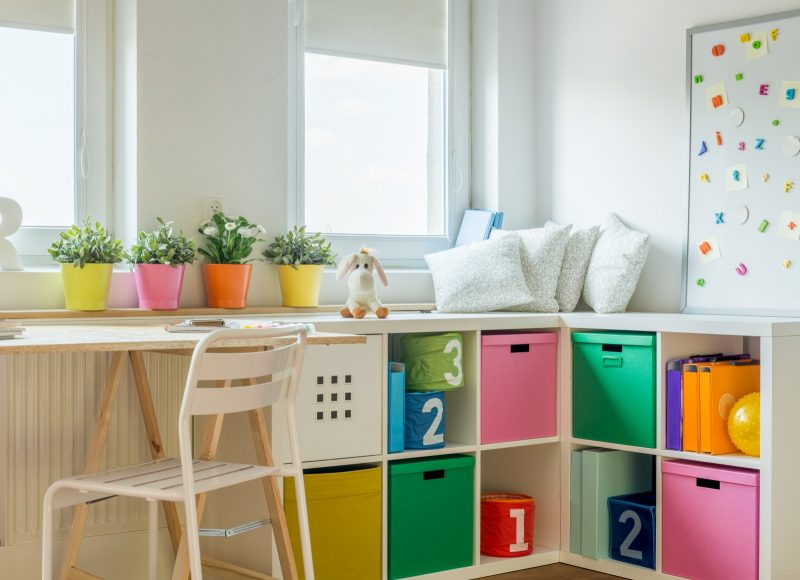
Without a simple organizational system, picking up can be a major headache. Don't throw everything into one big toy box; there's a better way.

Buy a series of matching plastic bins and line them up along the wall where your child can easily put away and retrieve toys on his own. Designate one box for Legos, one for stuffed animals, one for train tracks … you get the idea.

Use stacking plastic boxes for smaller toys like matchbox cars and dolls. Organize them further by storing puzzle pieces, doll clothes and other annoyances in Ziploc bags.

7. Hit the books

It's not your imagination. That pile of storybooks by the couch really is getting taller, and if you wait much longer, it will likely turn into a giant heap.

Worse yet, your kid uses those books to stall and push back bedtime a little later with each passing night. That's why it's important to either keep the books in your child's room, or keep a small selection of favorites in a basket for easy retrieval.

Related:

Originally published December 2017


via Zillow Porchlight https://ift.tt/2DZjpKR

How to Install a Kitchen Faucet

If you’ve been washing your hands a lot lately, you might have started paying extra attention to your faucet. Does it drip? Is the chrome flaking off? Is it dated?

Plumbing projects can be intimidating, because no one wants to accidentally flood their entire home. But installing a new kitchen faucet truly is a DIY that anyone can handle.

As long as you work slowly and follow the directions, you can add a beautiful faucet to your kitchen with zero emergency calls to the plumber.

Supplies:

  • New kitchen faucet (and the installation manual)
  • Adjustable wrench
  • Flashlight
  • Bucket
  • Rags
  • Cleaner
  • Screwdriver
  • Towels
  • Teflon tape (optional)

Before purchasing a new faucet, take note of your current setup. Look under the sink to see how many holes yours has (usually between one and four).

This determines the type of faucet that will work with your sink. A single-hole faucet can be installed in a three- or four-hole sink by adding a deck plate, but not vice versa.

Step 1

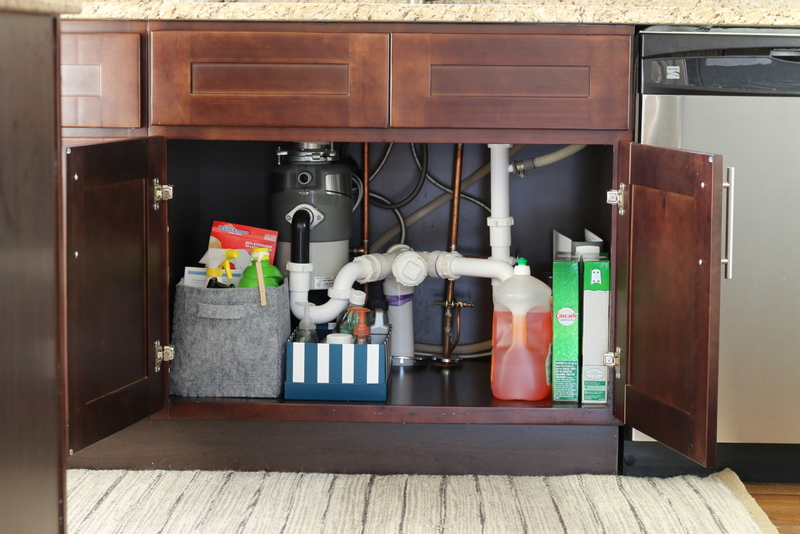
Remove everything from under your sink. This DIY takes place in tight quarters, so you want to make it as roomy as possible. Also, be sure to keep a towel nearby for any water drips.

full_cabinet


Step 2

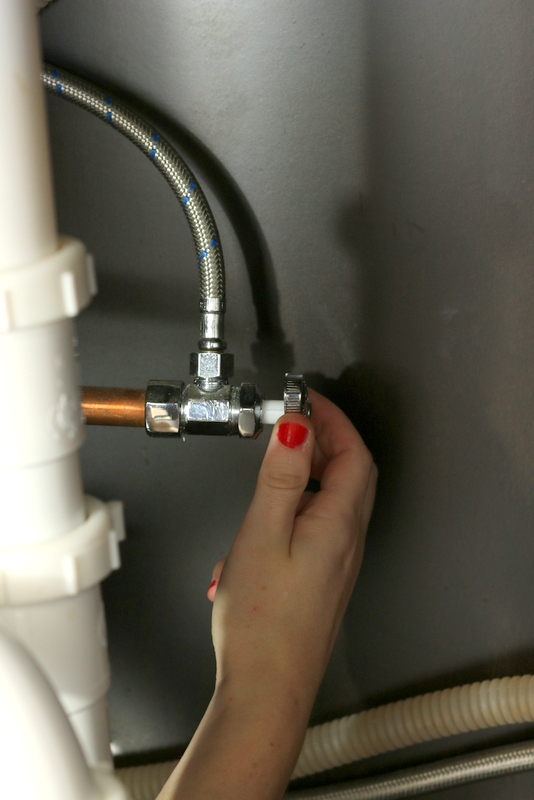
Turn off the water supply lines to the kitchen faucet. There will be a cold water and hot water valve underneath your kitchen sink.

Turn each of these water valves clockwise until you can't turn them anymore. Then turn on your faucet and make sure water doesn't come out.

Keep the faucet in the "on" position to relieve any water pressure.

water_turnoff

Step 3

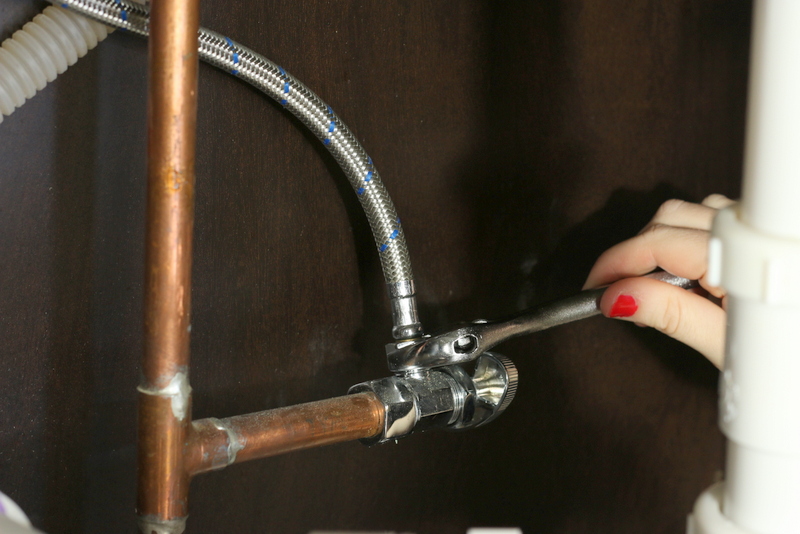
Now that the water is safely off, you can unhook the hot and cold water supply lines. You will need a wrench for this step. Simply loosen them (counterclockwise) until they unhook.

A little water may drip out, which is totally normal. Just keep your bucket and rags handy.

unhook_water_line

Step 4

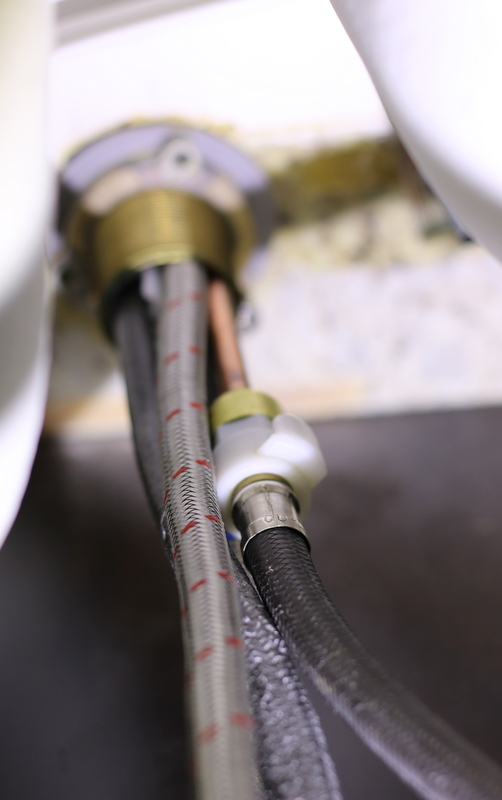
Unscrew your old kitchen faucet from underneath the sink.

Every faucet is different, so yours may look a bit different than this one. Ours had a gold ring that we just had to loosen with our hands. Others might be connected with a nut. If that’s the case, you'll have to use your wrench again.

unscrew_faucet

Step 5

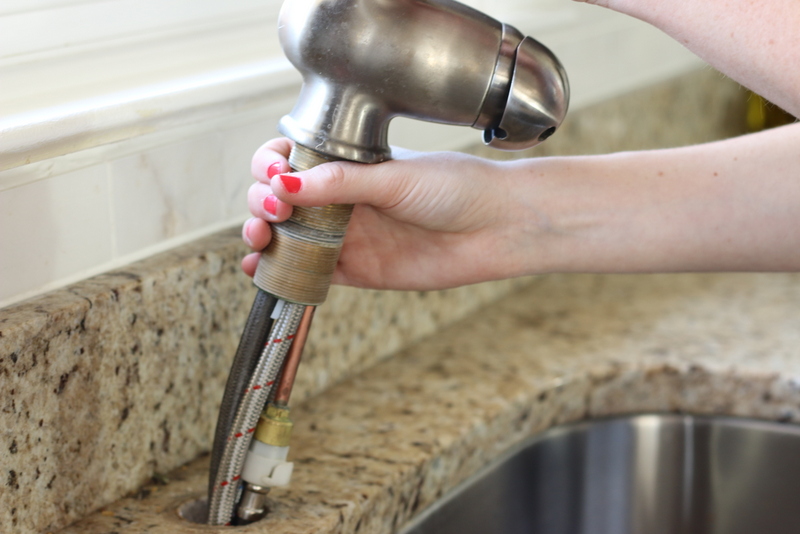
Pull your old faucet through the top of the kitchen sink and out.

remove_old_faucet

Step 6

Clean up any gross residue that was hiding underneath your old kitchen faucet with your towel. This is the time to get it nice and clean, so put some muscle into it!

Step 7

Grab the manual for your new faucet, because you're going to need it! Since every faucet is different, they all come with their own set of directions. But we'll walk you through the general steps.

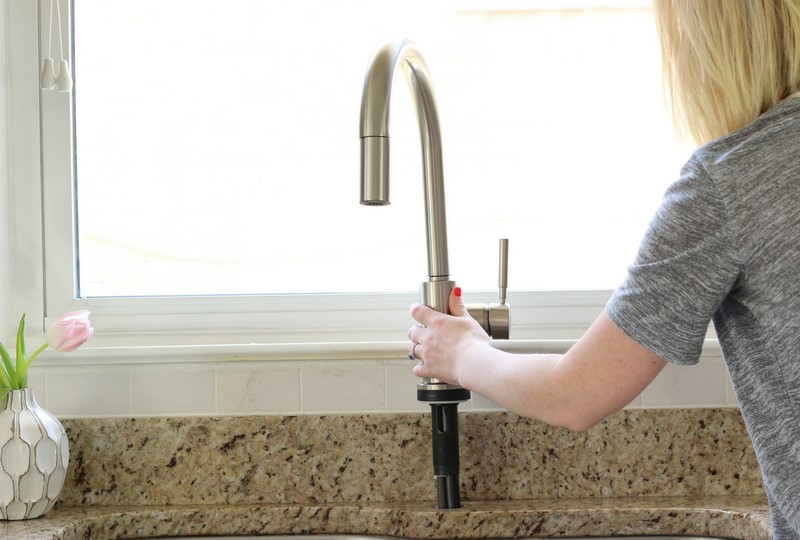
Feed your new kitchen faucet into the hole at the top of your sink. You may want to enlist a buddy to help keep the top secure as you venture underneath the sink.

feed new faucet

Step 8

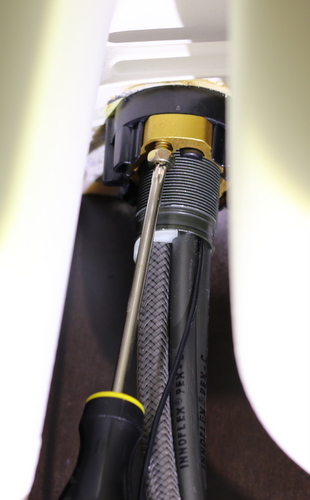
Secure your faucet from underneath the sink. Ours required tightening a few screws.

screw_new_faucet_in_tightly

Step 9

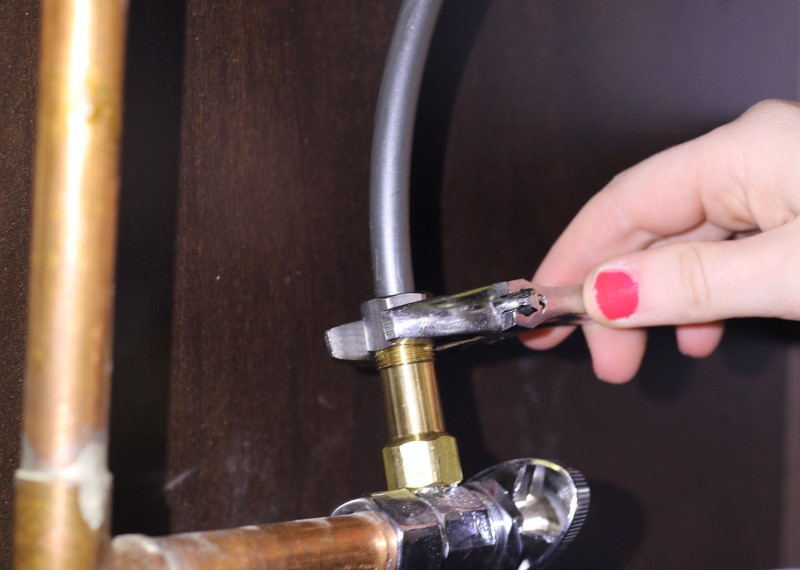
Attach your cold and hot lines to their valves, and make sure they are nice and snug with your wrench.

You may want to wrap your threaded pipes with some Teflon tape to make sure your seal is tight and your connections remain leak-free!

attach lines

Step 10

Turn your water supply valves on … slowly! Then check the faucet to make sure both your hot and cold water are working.

turn water on

That's it. Seriously easy, right?!

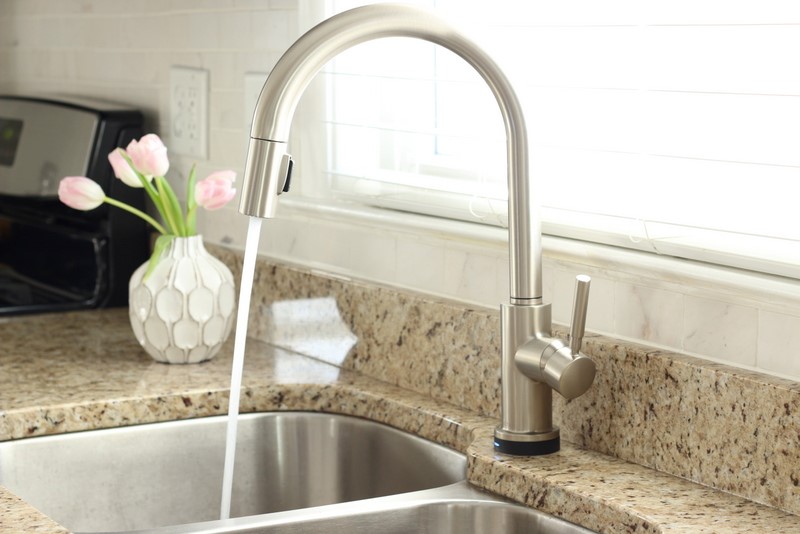
You can elevate the look of your kitchen in under an hour, and it will only cost you the price of a new faucet.

Related:


via Zillow Porchlight https://ift.tt/3alv32g