These projects are as beautiful as they are budget-friendly, and best of all, you can easily make them in one afternoon. Ready to learn the ropes?
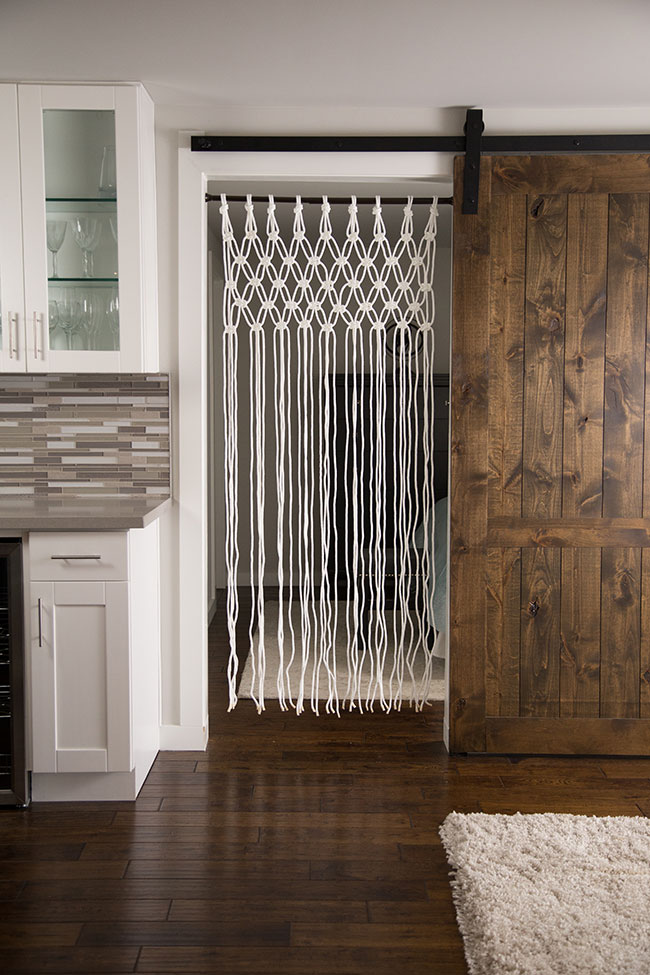
Macrame rope curtain
Modern, yet rustic. Warm, yet airy. And perfect for the doorway of your choosing.
Supplies
- Scissors
- Tension rod
- Masking tape
- 400 feet of 1/4-inch diamond braided nylon rope
Instructions
- Pick a doorway for your curtain and install the tension rod.
- Cut 18 strands of rope. Each one should be 17 feet long.
- Drape two strands of rope over the rod and line up the ends so you have four even strands.
- Secure the rope to the rod with a "four-in-hand" knot. To create this knot, hold two strands of rope in each hand. Then, cross one side over the other. Next, wrap the top strands around the bottom strands. Cross and wrap those same strands one more time, then pull them up and through the loop before tightening.
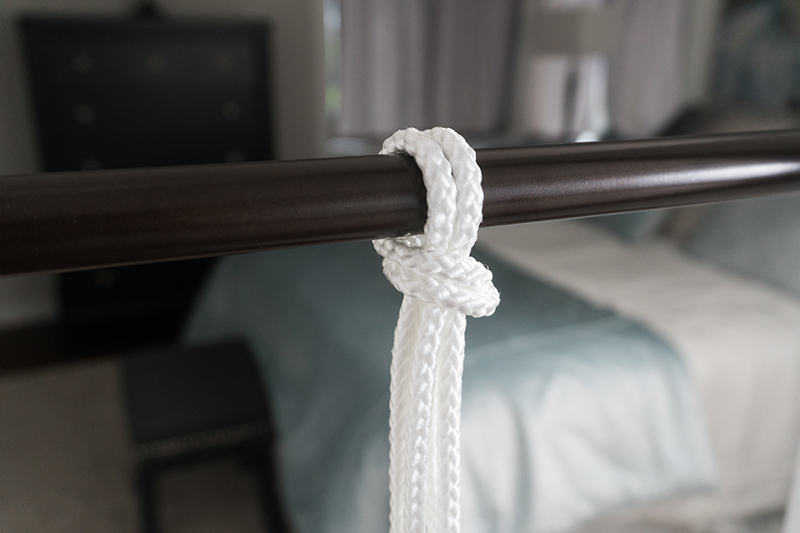
- Repeat steps 3 and 4 with the remaining strands.
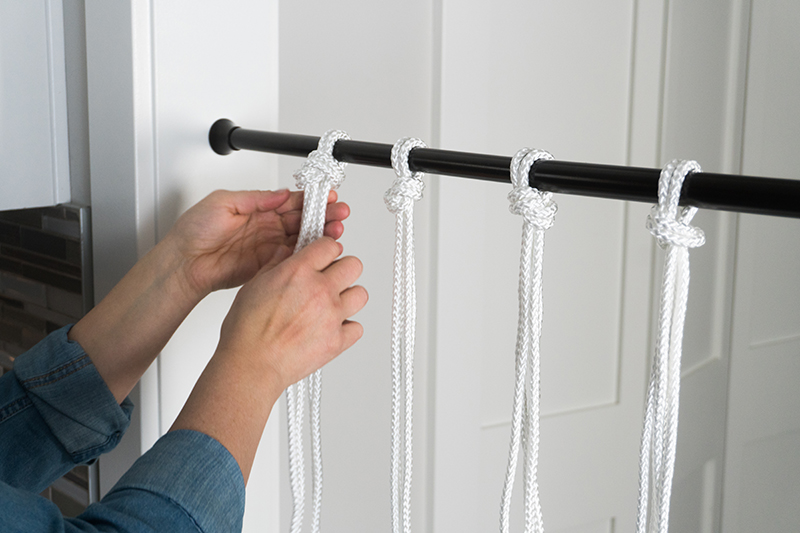
- Now the real macrame fun starts! Tie a square knot three inches below the base of the top knot. Grab the first section of hanging rope. There should be four strands to work with (one on the left, one on the right and two anchor strands in the middle). Position the strand on the left so it's under the two anchor strands in the middle, but over the strand on the right. Then, pull the right strand over the two anchor strands in the middle and through the loop on the left. Complete your square knot by reversing the steps on the other side. Move the strand on the right under the two anchor strands and over the strand on the left. Pull the left strand over the two anchor strands and through the loop on the right. Tighten it slightly.
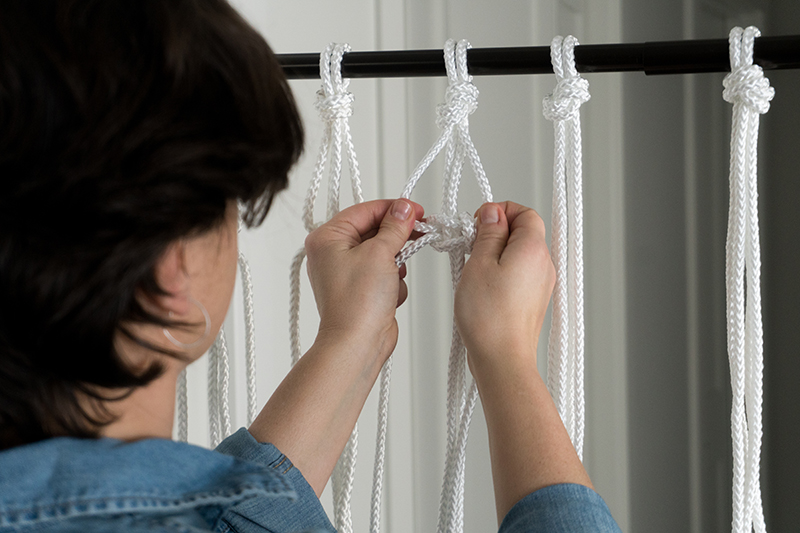
- Repeat step 6 on each hanging section of rope. After completing this step, every hanging section of rope should have a macrame square knot.
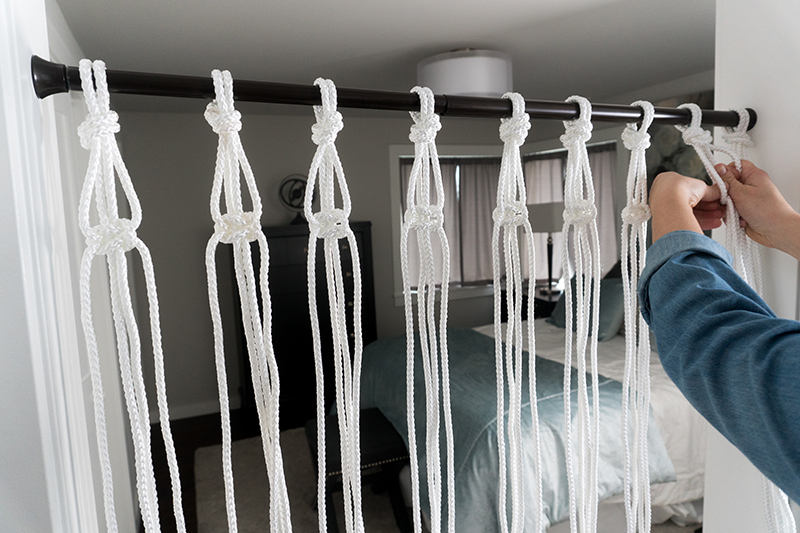
- Now you'll begin to create more rows of macrame knots by braiding rope in the adjacent rows. Start three inches down from the first row of macrame knots and work left to right. Skip over the first two strands on the left, and create a square macrame knot with the last two strands on the right side of the first section and the first two strands on the left side of the second section.
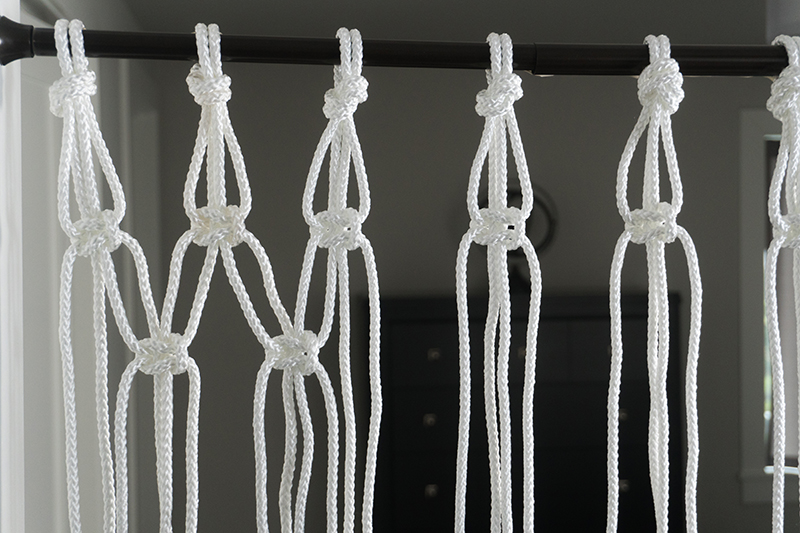
- Repeat step 8 to work your way across the sections of hanging rope, creating a second row of square knots.
- Repeat step 6 to create the third row.
- Repeat step 8 to create the fourth row.
- Repeat step 6 to create the fifth row.
- To make sure the ropes don't fray, wrap masking tape at the bottom. Cut through the tape to make the ropes even.
- Admire your handiwork!
Rope basket
It's just like that basket you fell in love with in that cute boutique. Only better, because you made it yourself.
Supplies
- Scissors
- Glue sticks
- Cotton piping
- Hot glue gun
- Bucket for the mold
Instructions
- Flip the bucket upside down. Then, apply a thin layer of glue to a 3-inch section of the piping and begin to wind more piping around it. Use the bottom of the bucket as a guide. Coil and glue the rope every few inches, until the base of your basket is a little bigger than the bottom of the bucket. (Note: Make sure you're gluing the piping to other sections of piping, not to the bucket!)
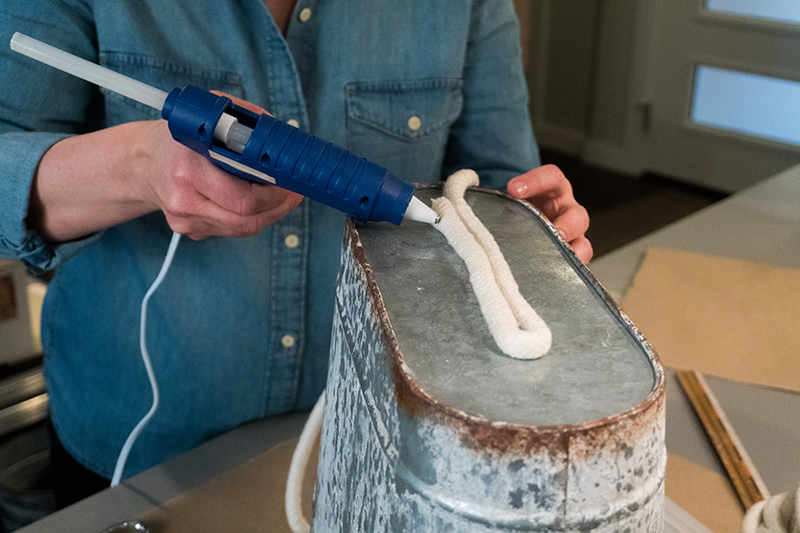
- Turn the bucket over. Continue to wrap and glue the piping until the basket is two rows short of the top of the bucket.
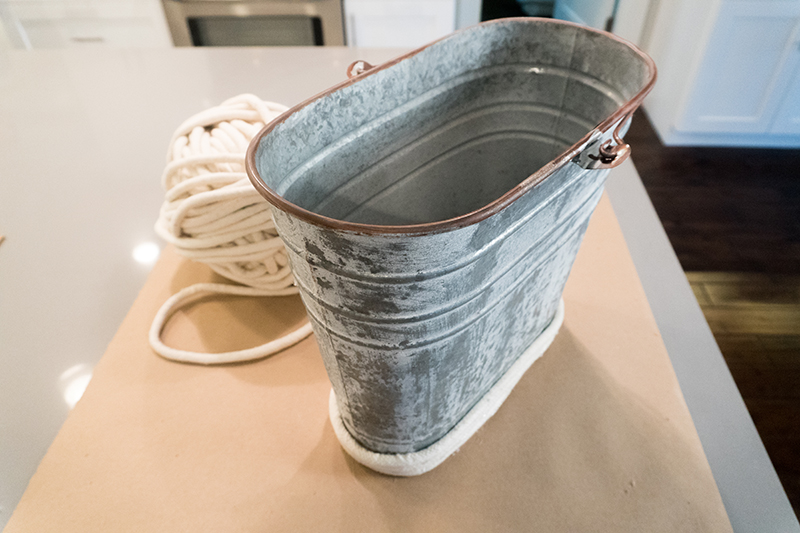
- Cut the rope and glue down the ends for handles.
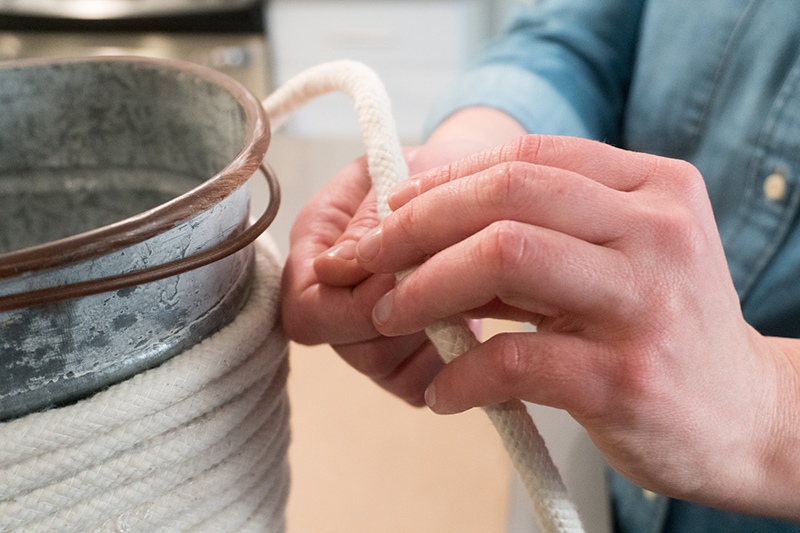
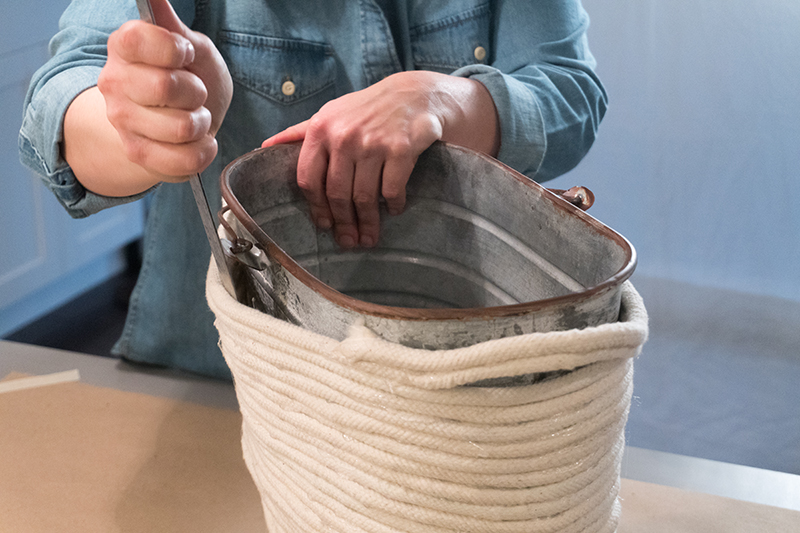
- Remove the bucket carefully. If it sticks to the piping, try sliding something thin and sturdy, such as a butter knife, inside to separate the rope basket from the bucket.
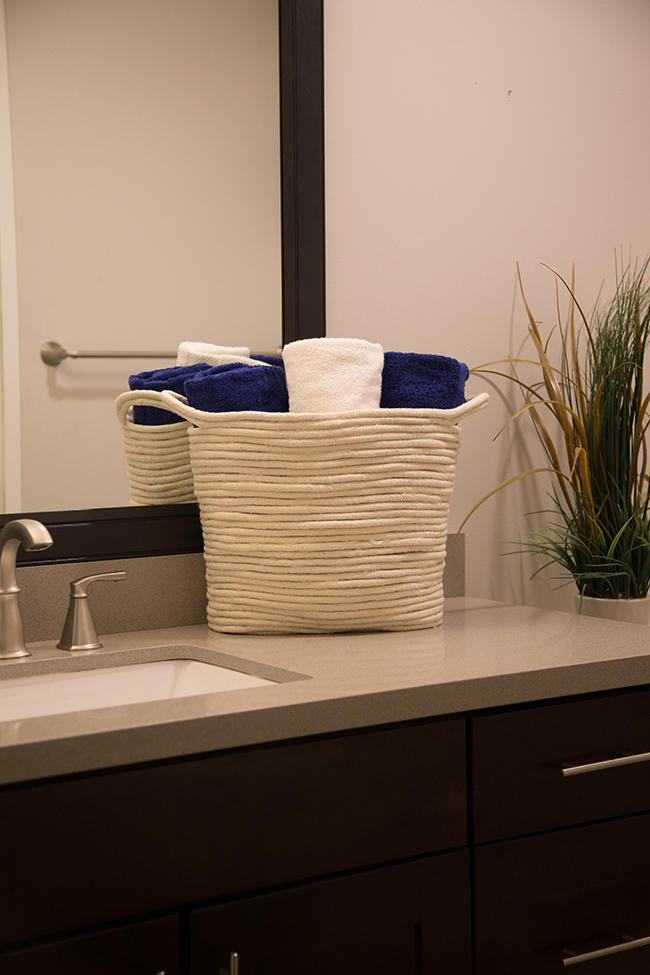
- Fill your basket (and brag about how you made it yourself)!
Hanging rope planter
Low on space but big on greenery? This project is a game-changer.
Supplies
- Drill
- 3/8-inch drill bit
- 4-inch circular protractor
- Tape measure or ruler
- Jigsaw
- Pencil
- Scissors
- Masking tape
- 4 plants
- Plant wire
- Extra-strong glue, such as Super Glue
- 4 boards, each measuring 7 1/4 inches by 7 1/4 inches by 3/4 inches
- 4 coffee filters
- 4-inch metal ring
- Fine grit sandpaper
- 4 terra-cotta pots, each 4 inches in diameter
- 1 terra-cotta saucer
- 4 strands of 3/8-inch jute or manilla rope, each 8 feet long
Instructions
- Mark the center point on three pieces of wood. From that point, use the protractor to draw a circle.
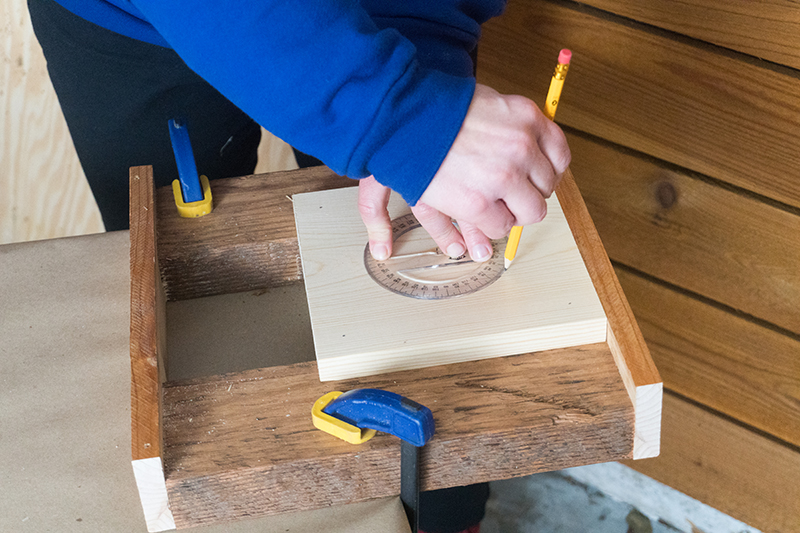
- Mark the corners on all four pieces of wood to create a drilling point that's 3/4 inch from each edge. Drill a hole in each corner and one in the center point.
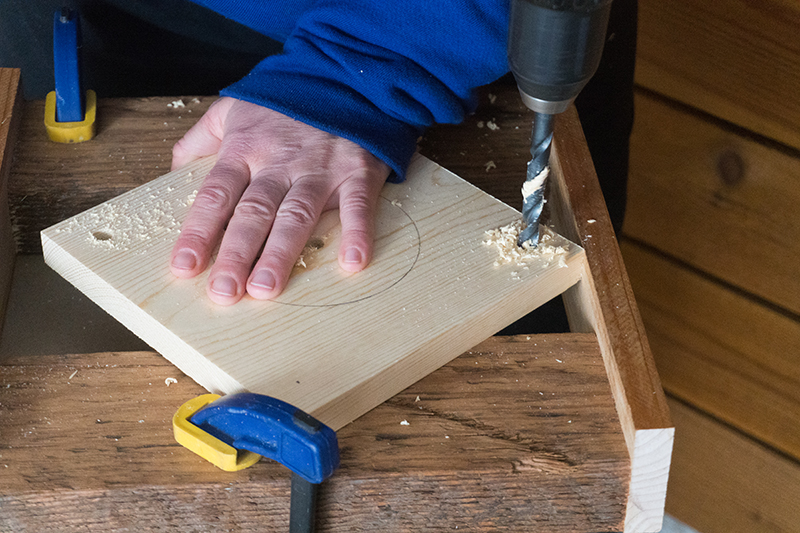
- Using the jigsaw, cut a path from the center hole to the edge of the circle. Follow the curve of the circle to carve it out. Repeat on two other boards.
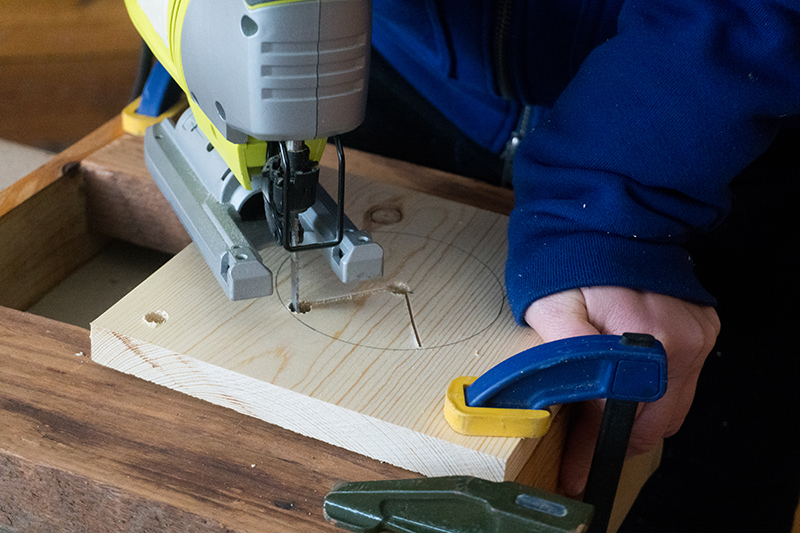
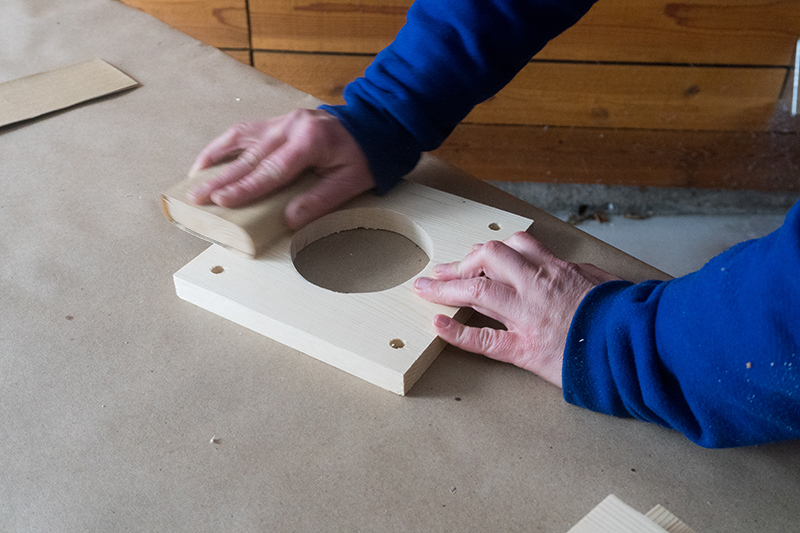
- Sand the boards to remove any splinters.
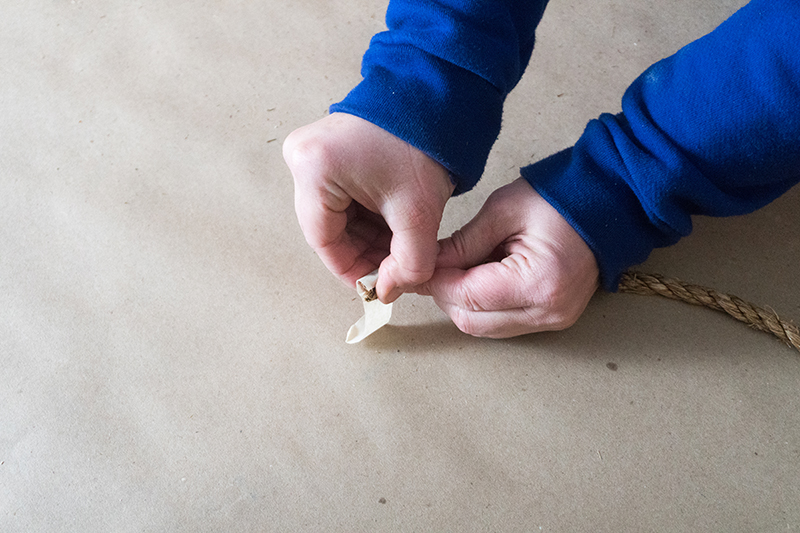
- Wrap tape around the ends of the rope to keep it from fraying.
- Knot the bottom of each rope.
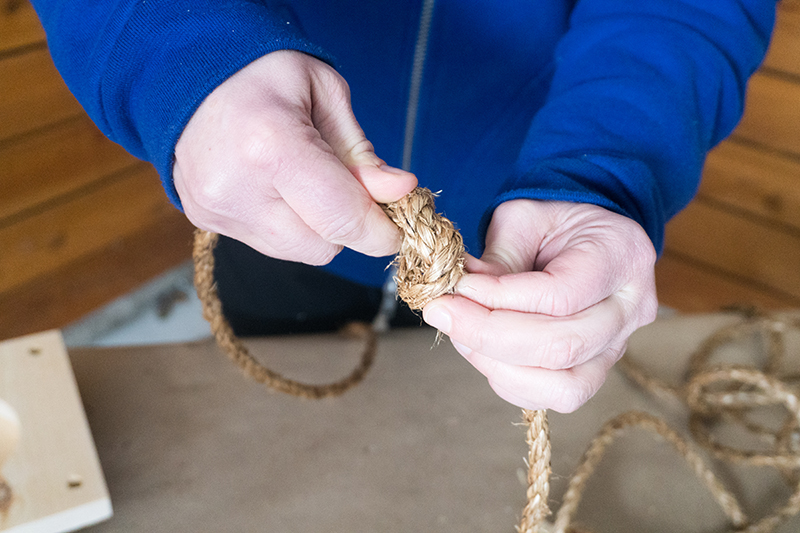
- Thread the ropes through the corner holes of the plank of wood that doesn’t have a center hole. This will be the bottom board.
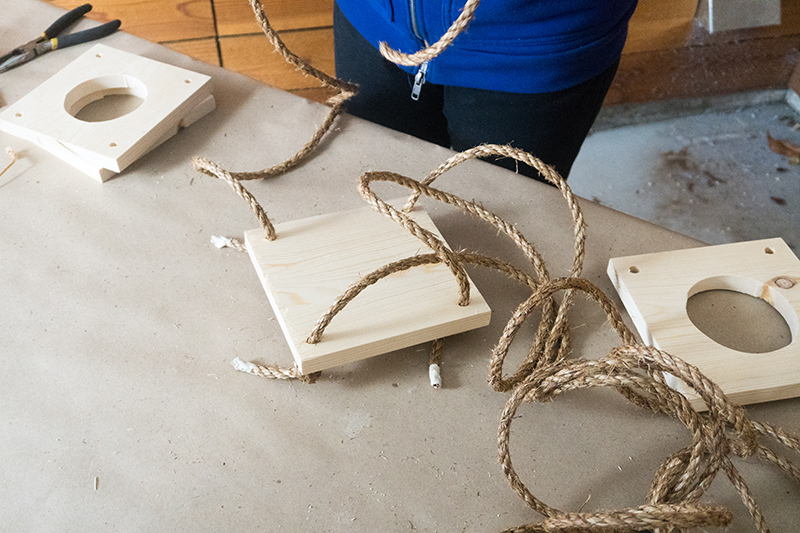
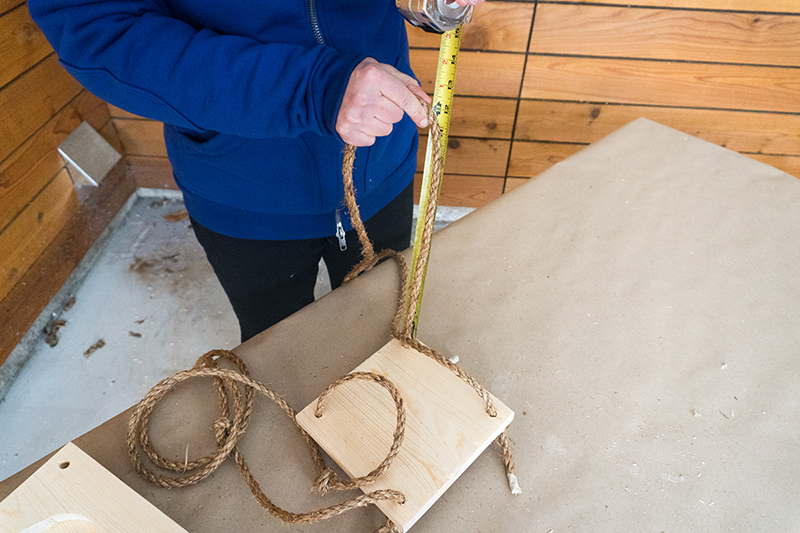
- Now it's time to make a second knot in the rope. Measure 12 inches from the plank of wood and tie a knot. Repeat this step for the other three pieces of rope.
- Thread the ropes through the drilled holes in another board and slide the wood down until it rests on the knots.
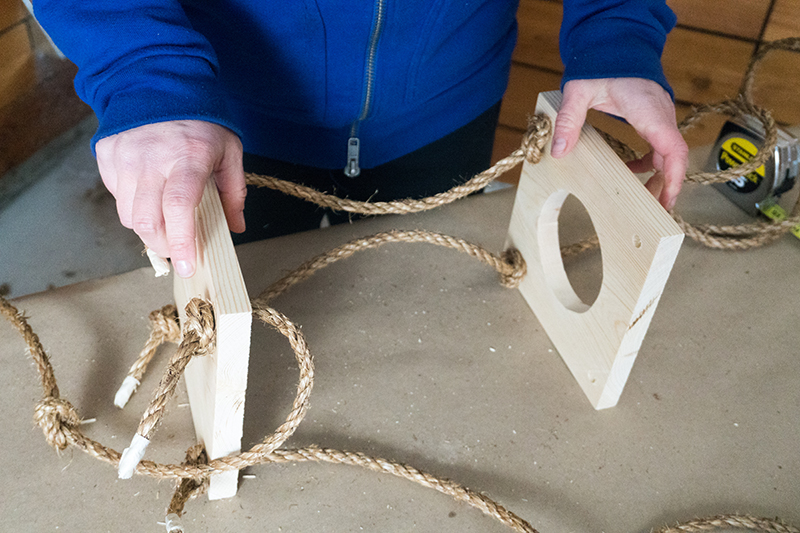
- Repeat steps 8 and 9 with the remaining pieces of wood.
- Gather the four loose strands of rope at the top, push them through the metal ring and fold them over. Wrap plant wire around the ring to hold the rope together.
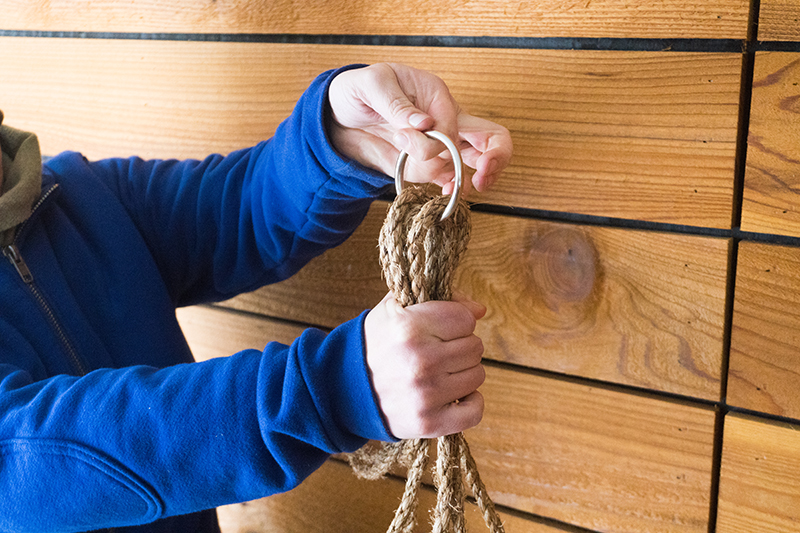
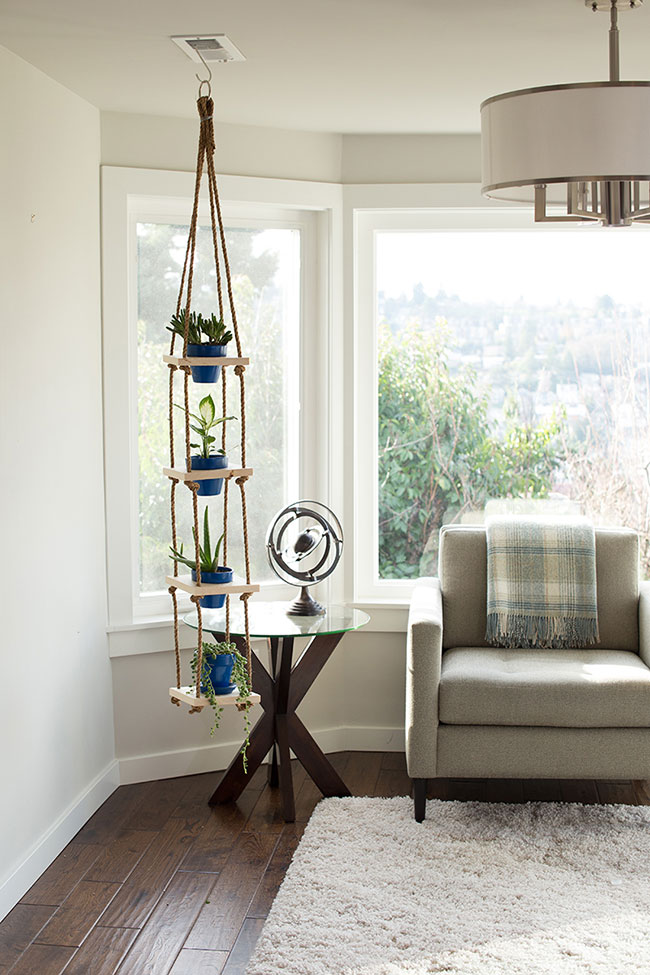
- Glue a saucer to the bottom plank of wood. This will catch any falling water droplets. Now, hang your planter!
- Pot your plants and pour them a nice cold drink. And maybe have one yourself, too.
Related:
- These 4 Clever Hacks Give New Life to Household Junk
- With This DIY Sporting Goods Catch-all, Game Day Is No Sweat
- DIY Backyard Fire Pit: Build It in Just 7 Easy Steps
via Zillow Porchlight http://ift.tt/2ov9mGY
No comments:
Post a Comment