If you’ve been washing your hands a lot lately, you might have started paying extra attention to your faucet. Does it drip? Is the chrome flaking off? Is it dated?
Plumbing projects can be intimidating, because no one wants to accidentally flood their entire home. But installing a new kitchen faucet truly is a DIY that anyone can handle.
As long as you work slowly and follow the directions, you can add a beautiful faucet to your kitchen with zero emergency calls to the plumber.
Supplies:
- New kitchen faucet (and the installation manual)
- Adjustable wrench
- Flashlight
- Bucket
- Rags
- Cleaner
- Screwdriver
- Towels
- Teflon tape (optional)
Before purchasing a new faucet, take note of your current setup. Look under the sink to see how many holes yours has (usually between one and four).
This determines the type of faucet that will work with your sink. A single-hole faucet can be installed in a three- or four-hole sink by adding a deck plate, but not vice versa.
Step 1
Remove everything from under your sink. This DIY takes place in tight quarters, so you want to make it as roomy as possible. Also, be sure to keep a towel nearby for any water drips.
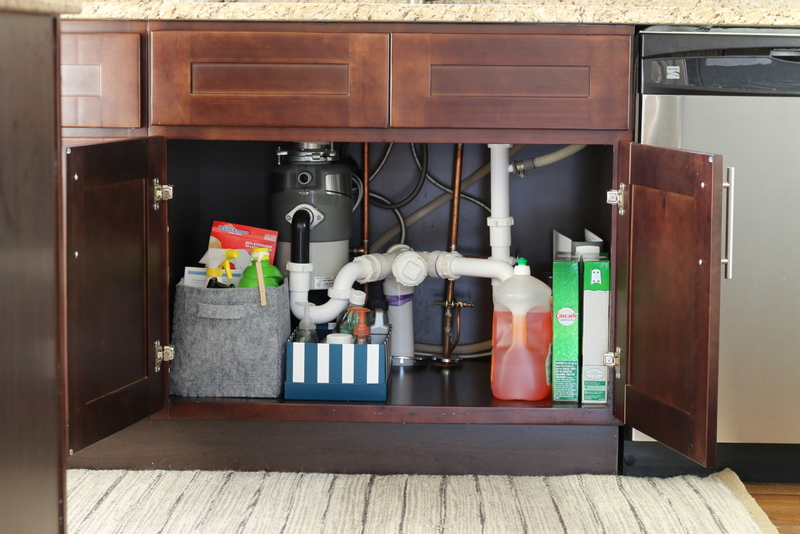
Step 2
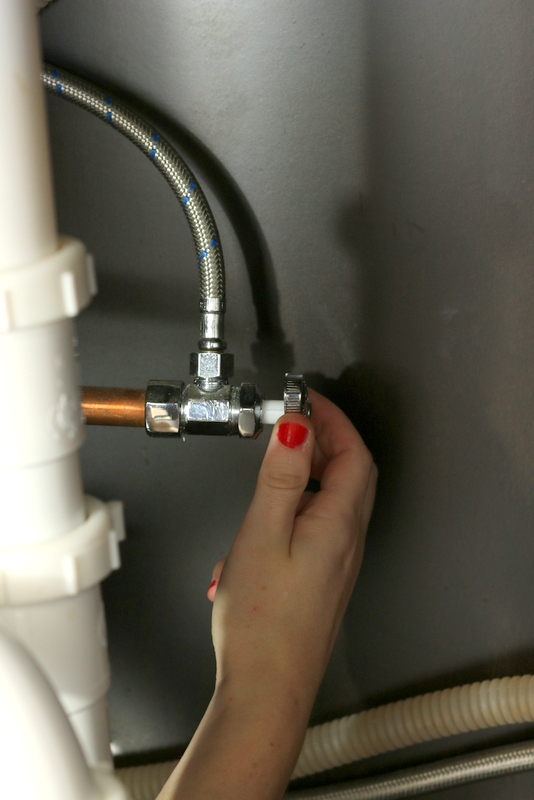
Turn off the water supply lines to the kitchen faucet. There will be a cold water and hot water valve underneath your kitchen sink.
Turn each of these water valves clockwise until you can't turn them anymore. Then turn on your faucet and make sure water doesn't come out.
Keep the faucet in the "on" position to relieve any water pressure.
Step 3
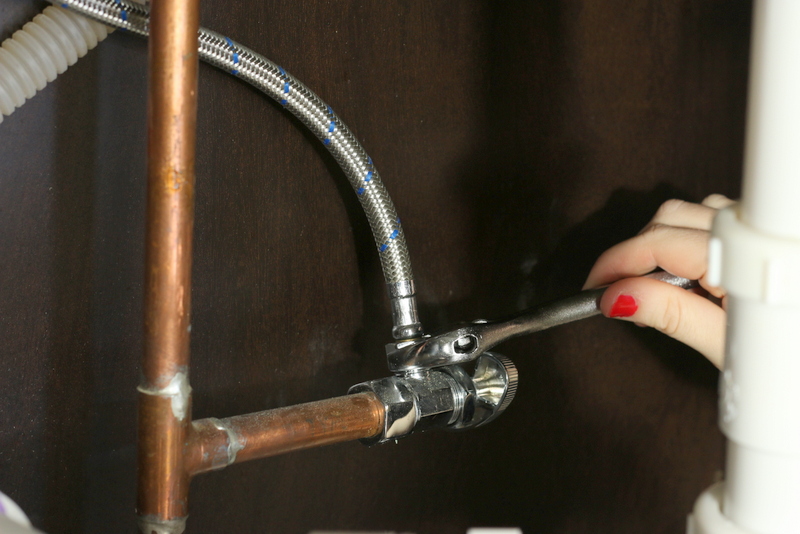
Now that the water is safely off, you can unhook the hot and cold water supply lines. You will need a wrench for this step. Simply loosen them (counterclockwise) until they unhook.
A little water may drip out, which is totally normal. Just keep your bucket and rags handy.
Step 4
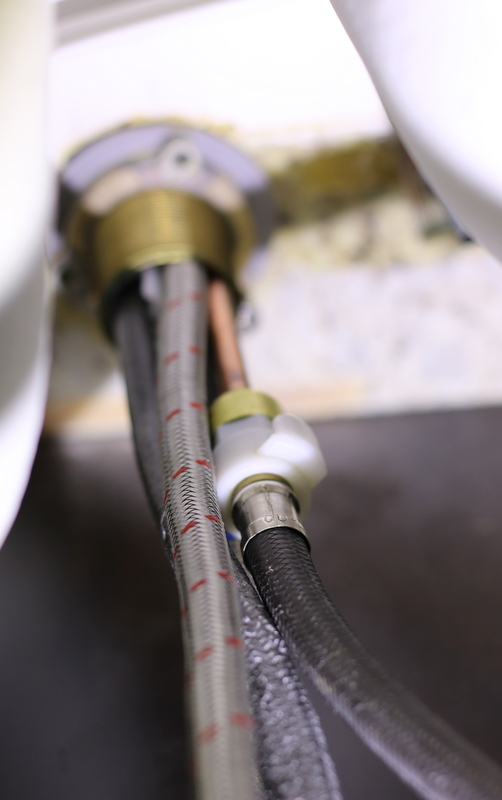
Unscrew your old kitchen faucet from underneath the sink.
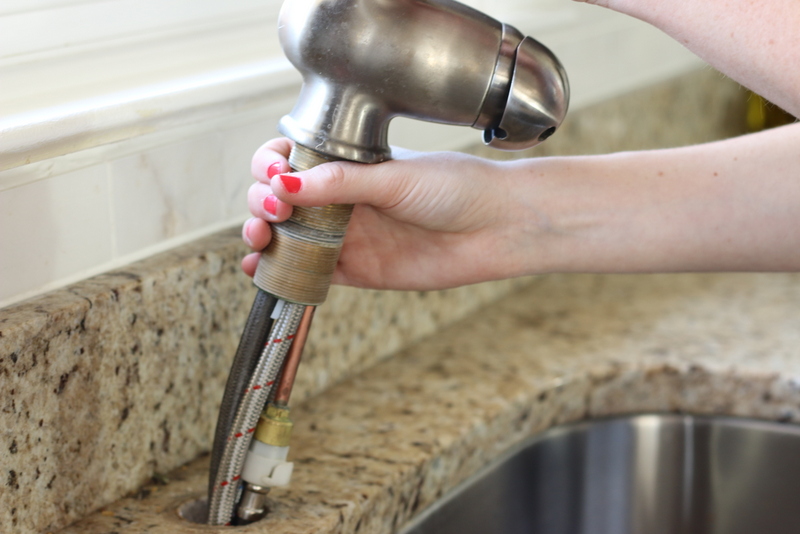
Every faucet is different, so yours may look a bit different than this one. Ours had a gold ring that we just had to loosen with our hands. Others might be connected with a nut. If that’s the case, you'll have to use your wrench again.
Step 5
Pull your old faucet through the top of the kitchen sink and out.
Step 6
Clean up any gross residue that was hiding underneath your old kitchen faucet with your towel. This is the time to get it nice and clean, so put some muscle into it!
Step 7
Grab the manual for your new faucet, because you're going to need it! Since every faucet is different, they all come with their own set of directions. But we'll walk you through the general steps.
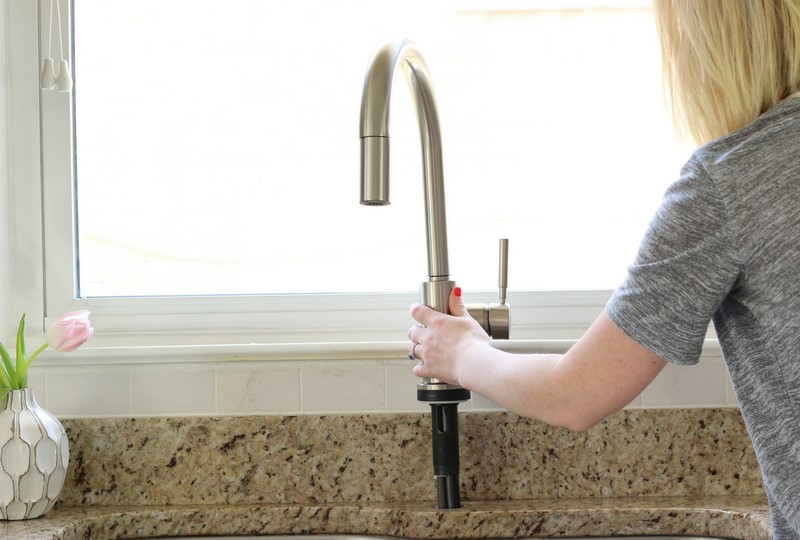
Feed your new kitchen faucet into the hole at the top of your sink. You may want to enlist a buddy to help keep the top secure as you venture underneath the sink.
Step 8
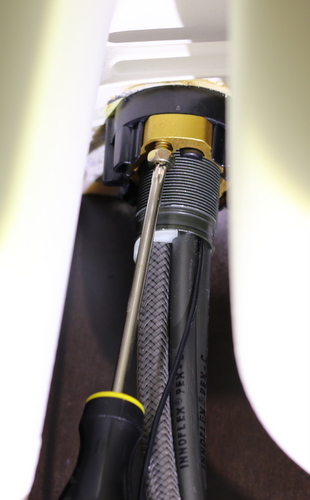
Secure your faucet from underneath the sink. Ours required tightening a few screws.
Step 9
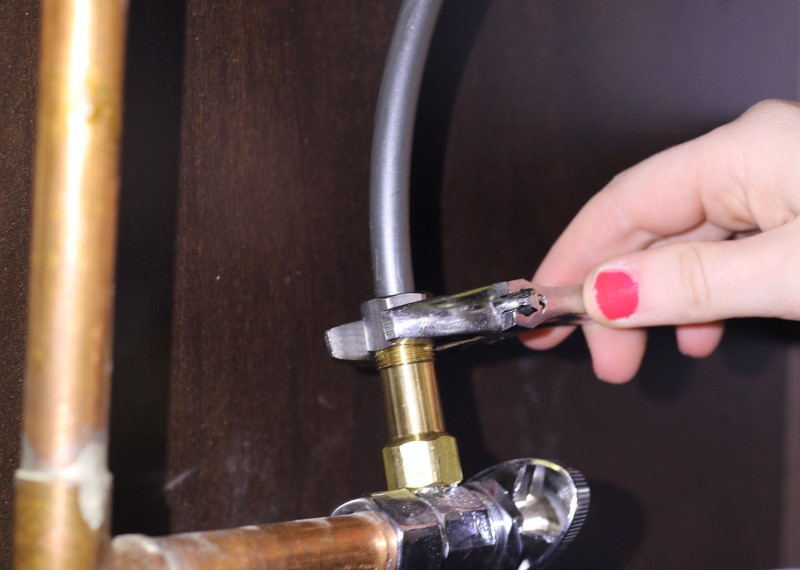
Attach your cold and hot lines to their valves, and make sure they are nice and snug with your wrench.
You may want to wrap your threaded pipes with some Teflon tape to make sure your seal is tight and your connections remain leak-free!
Step 10
Turn your water supply valves on … slowly! Then check the faucet to make sure both your hot and cold water are working.
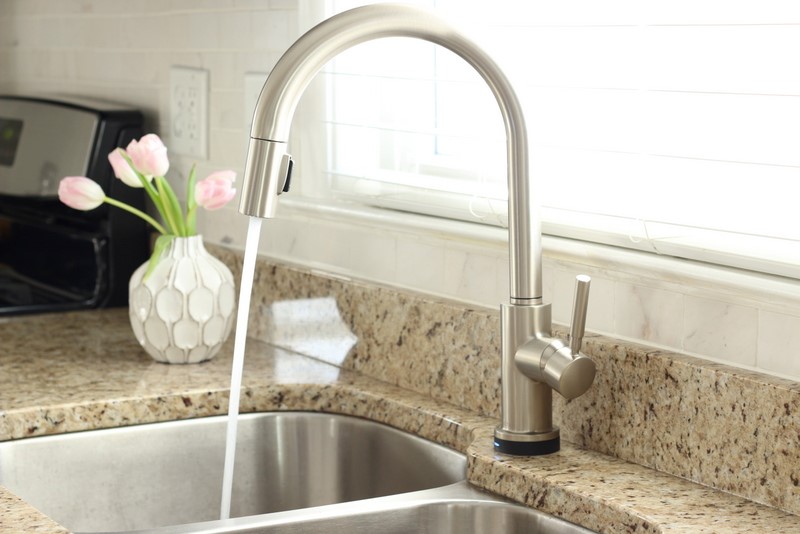
That's it. Seriously easy, right?!
You can elevate the look of your kitchen in under an hour, and it will only cost you the price of a new faucet.
Related:
- How to Replace a Ceiling Fan
- Good Clean Fun: How to Build an Outdoor Shower
- 7 Perfect Kitchen Upgrades for a New Look Without Remodeling
via Zillow Porchlight https://ift.tt/3alv32g
No comments:
Post a Comment